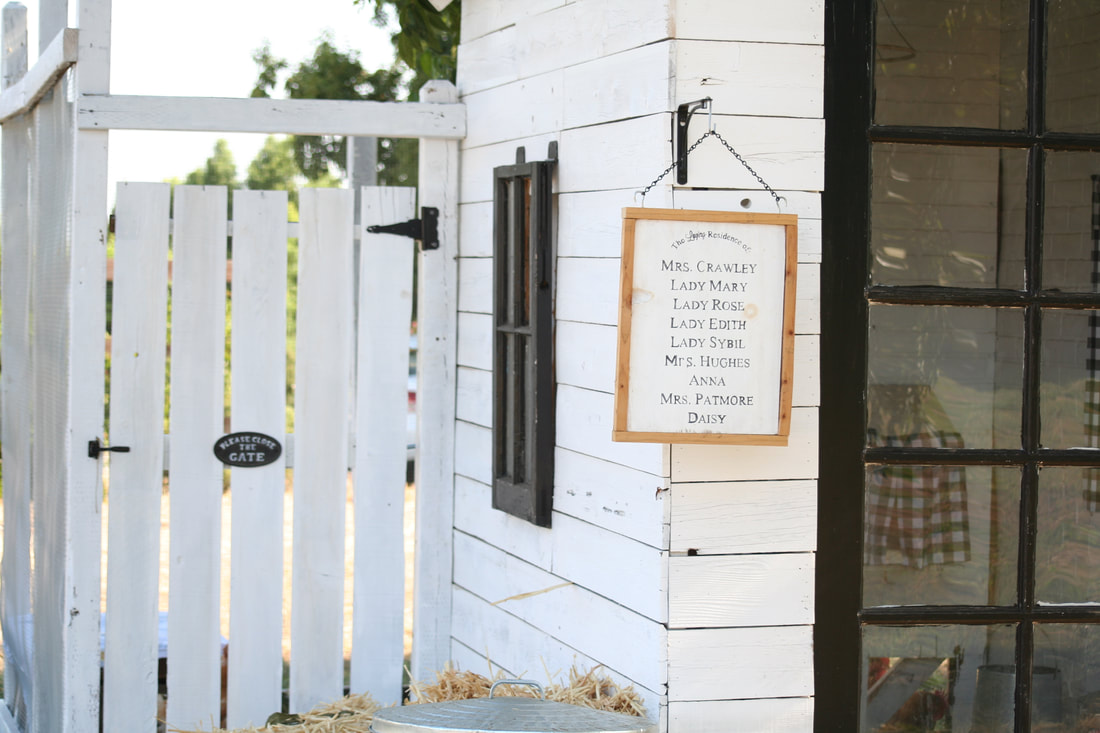
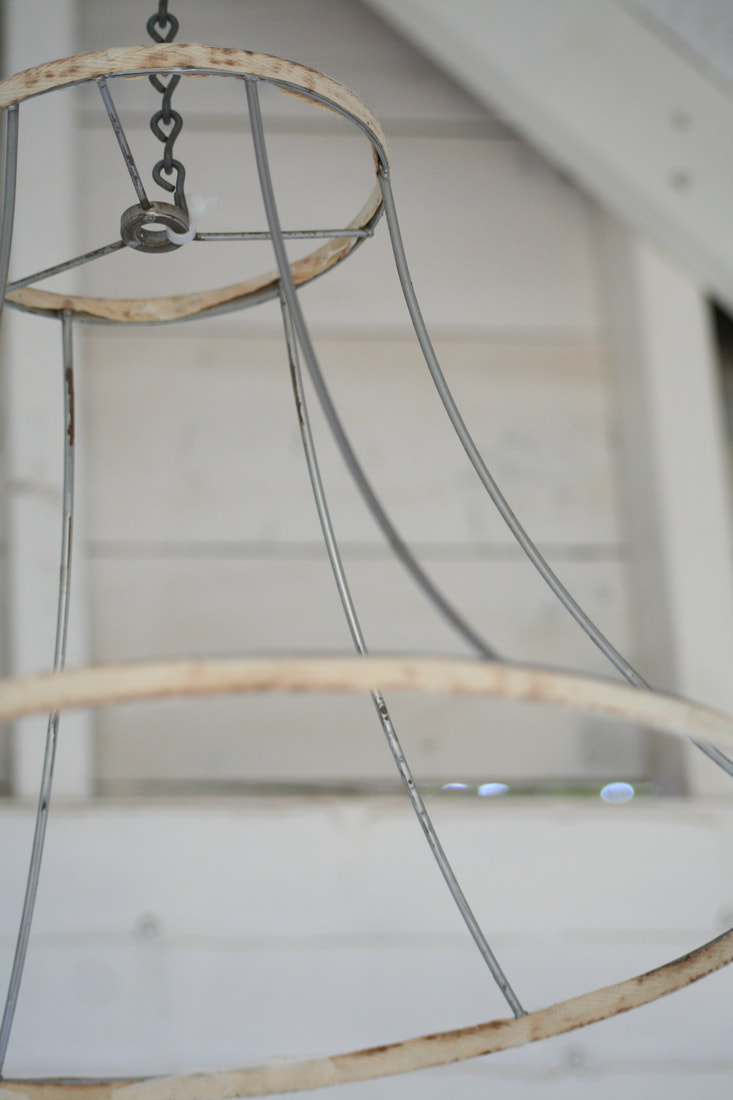
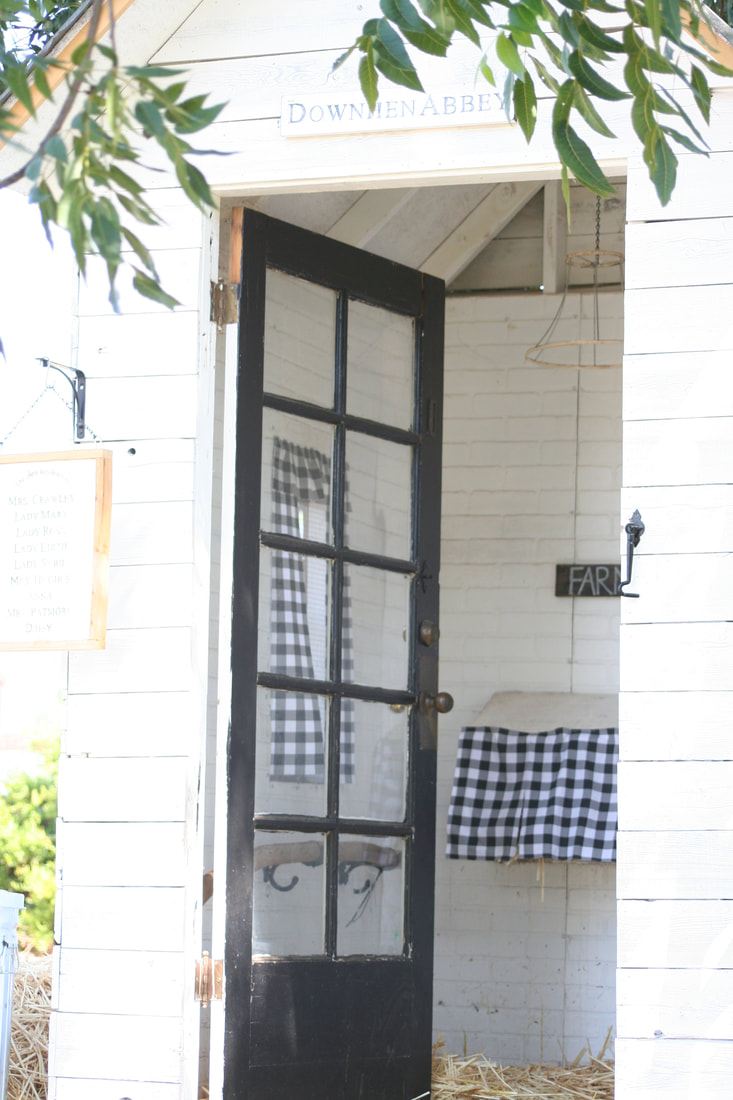
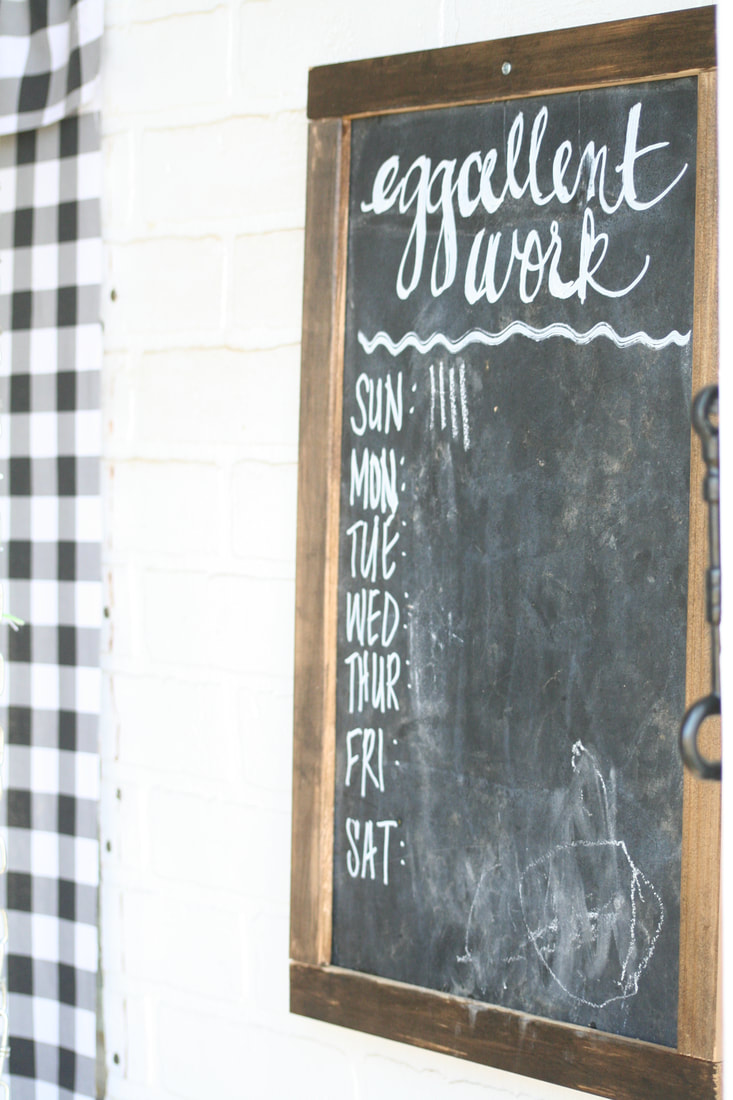
 Welcome to Downhen Abbey, the home of our little backyard flock. Our tiny little chicken coop has been a dream of mine for over 5 years, and I’m so excited to finally see my vision becoming a reality. This blog is just a quick tour of the interior, and I say quick because it’s so tiny there really isn’t much to see inside, but I’m looking forward to sharing a few details with you. First, let me state this entire project was a family affair. Our ducklings measured, cut, nailed, stapled and painted during the entire process alongside my husband and me. They are very proud of this little building, and what they accomplished during the construction. It was a great learning experience for them, and wonderful quality time for all of us. Second, this entire project cost less than $400. That may sound like a lot, but if you price chicken coops, you’ll see this cost is a steal for the size of this structure. We were able to keep the cost down by using A LOT of salvaged materials. The siding, door, windows, roofing, flooring, and fence posts are all salvaged materials with no cost. Even some of the interior details were created from scrap materials and supplies we had on hand from previous projects. The only items we purchased were 2x4’s for the studs and trusses ($90 Home Depot), hardware cloth for the windows and run ($60 from Amazon), the faux brick paneling for the interior walls ($150 from Home Depot), and miscellaneous hardware such as screws, nails, gate locks, etc. ($80 Hobby Lobby and Home Depot). First we created a skid type flooring with salvaged 2x4’s and 4x4 posts from a fence we took down. We decided on a skid type base so if we wanted to move it, it could easily be picked up with a fork lift. This also prevents predators from digging their way into the coop. We then framed in the walls using the door and windows we planned to use to create the wall templates. It is 5’x7’ for a total of 35 square feet, and 12’ tall at the peak of the cupola allowing each hen at least 3 square feet interior space. I did a lot of research before we built the coop and learned that each chicken requires a minimum amount of interior space, exterior space, and nesting space, so these numbers drove the design. If you need to determine your numbers, The Chicken Chick is a great source. We added interior paneling because I read that chickens will roost anywhere that is 1.5” or greater. Installing wall paneling prevents them from roosting on the framing. This eliminates messes in awkward hard to reach corners, and allows for easier cleaning since the walls are all a flush, even, easy to wipe surface painted in high gloss paint. A win win! 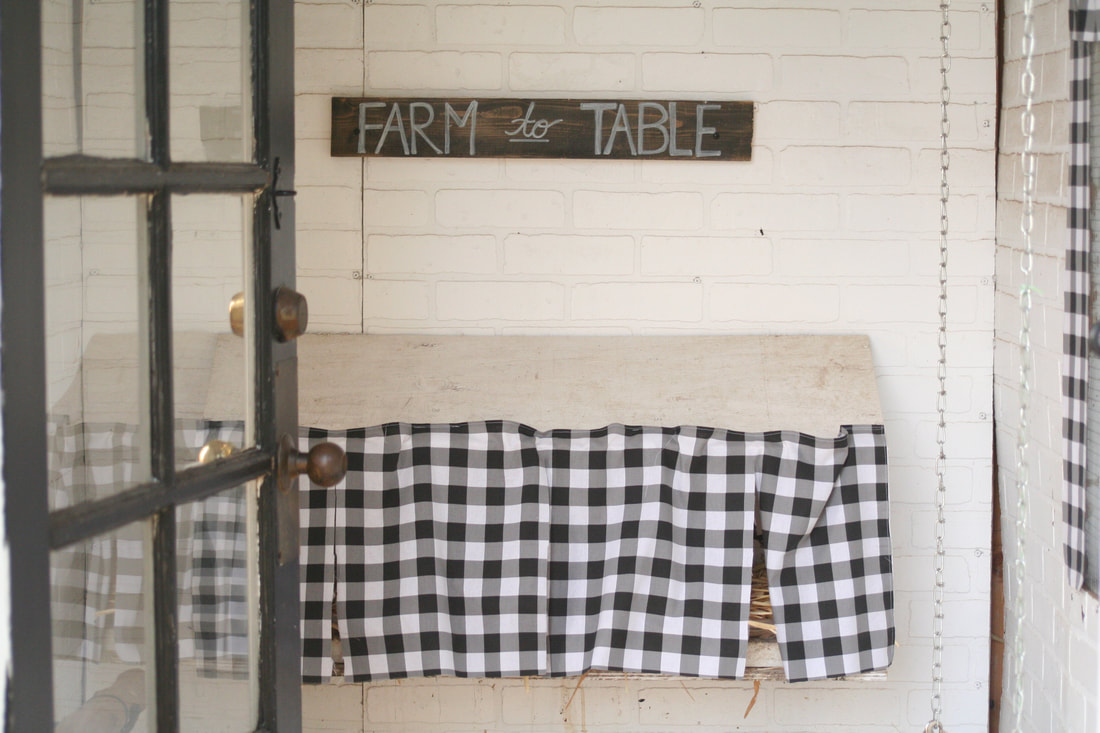 Nesting Boxes: Since we have 9 chickens and you only need one nesting box for every 3-5 chickens, I built a row of three nesting boxes from scrap plywood. I also painted them in a high gloss white and purchased shallow square Tupperware dishes from a dollar store to line them, both of which aid in the ease of cleaning. By simply removing the dish, rinsing it out, and replacing the soiled straw with fresh straw, the task is made simple. It still requires a deeper cleaning every few months, but the more routine task is made very easy. The curtains, while adorable, actually serve a purpose. They provide privacy for the laying hens (which they prefer), and also deter the hens from roosting/sleeping in the boxes. Another win win! 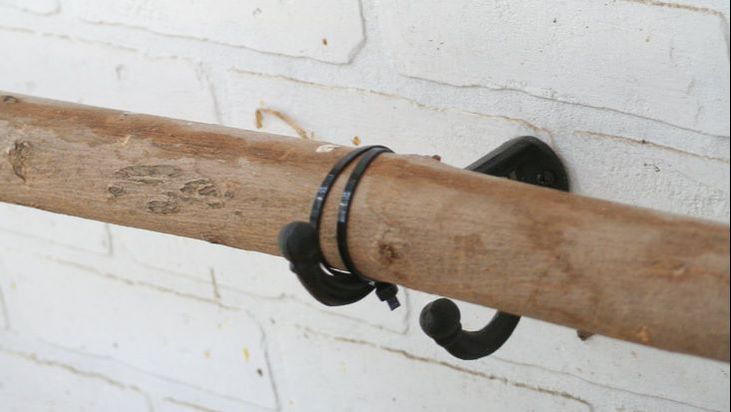 Roosting Bar: Chickens need about 8” per hen of roosting space since this is their preferred method of rest. We had a large tree trimmed earlier this year, so I had our trimmer keep a long branch for me to use as our roost. I attached the branch by simply installing two hooks from Hobby Lobby (you can find them here), and using cable ties to hold it in place. I learned from my research that it is best to make the roost removable for easy cleaning since hens do most of their pooping while they roost! Definitely a good tip, and this design is perfect for that. Miscellaneous Details: The lamp shade is a 50 cent yard sale find that I installed for a whimsical touch. I made the signs myself out of scrap lumber, and the chalkboard out of scrap materials. The chalkboard was also a researched idea of an easy way to keep track of how your hens are laying, but also adds charm. The curtains on the windows don’t provide a function, other than making me smile.
We originally were going to let our hens be completely free range, but since our property currently isn’t fenced in, our ladies kept crossing the street. Nope, we still don’t know why they crossed the street…(wah, wah, wah). So, a new addition to our coop is our “run”. It is a simple 8’x8’ fenced pen we built using reclaimed fence posts and hardware cloth that easily screws onto the exterior of the coop so we can still move it if desired. This keeps our hens safe until we add property fencing, but we still let them out about the last 1-2 hours of the day…(they don’t wander all the way to the street given only this timeframe), so they do still free range as well. Thank you for taking the small tour of Downhen Abbey. Stop by here anytime, or better yet, come by in person and buy some farm fresh eggs. We hope you have and Eggcellent day! 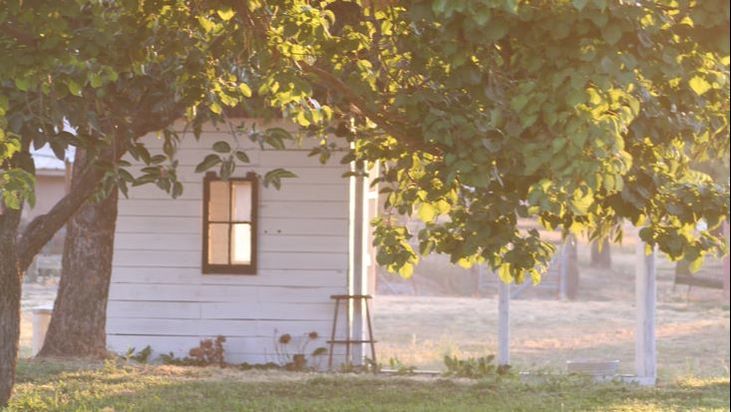
9 Comments
Jodi
10/6/2017 07:46:17 am
I'm so glad I found your blog! I adore your home and loved the tour of Downhen Abbey! It's simply lovely!
Rendi Trent
12/28/2017 10:02:41 am
Thank you so much, I appreciate your comment very much!
Sharon Sparks
12/28/2017 08:11:52 am
Are you going to restock the gray floral pillow covers & the black ticking pillow covers?
Rendi Trent
12/28/2017 10:03:39 am
Yes! We will reopen the online shop January 8th and will restock all our products in addition to some new releases!
Almas
1/27/2018 09:45:20 am
Glad to across your site, enjoyed looking at all the pics. We are considering having a coop and would like to know if you could share the plans you used to build yours. Such a timeless and pretty coop. Thanks.
Rendi Trent
2/9/2018 09:44:14 am
Due to your inquiry, and a few others, I'm currently drawing plans for our followers to download. Since I designed this from salvaged materials, I didn't have plans but created around the salvaged materials. I'll blog about those soon! Thank you so much for your kindness!
Christian
2/9/2018 09:32:55 am
I love following you on IG and checking out your blog. I was curious - how much hardware cloth did you order on your chicken run from Amazon, and is it cheaper to go that route than going to a local hardware store? P.S. I follow the chicken chick too and she is amazing! I have learned so much about our hens. Thank you for all you share.
Rendi Trent
2/9/2018 09:47:58 am
Thank you for following along our journey, we appreciate it and love "meeting" new friends. The hardware cloth was significantly cheaper thru Amazon than our local resources. We ordered 50' of a 48" roll and had some left over. If you tap the blue Amazon link above it will show you exactly what I ordered and the cost. Thanks again! Oh, How adorable and such a sweet spot for chickens. It only will be that clean, white and fresh 'before' chickens move in. Ask me how I know..lol. I built a chicken coop and took great care to wall paper the walls and make it so special (for me) cause the chickens don't care.. but boy was it a lot of work. You can see my chicken chateau over at www.ShabbyChicTinyRetreat.blogspot.com . Yours is totally amazing and extra special as a family project. Blessings. Leave a Reply. |
Author
Country girl by birth. Archives
May 2022
Categories |
 RSS Feed