|
So grateful you all enjoy our chicken coop so much. Imitation is the greatest form of flattery and we are honored so many of you requested the plans for our little DIY so you can recreate your own little coop. I forewarn you these are very, very elementary sketches…nothing fancy or formal. I’m a designer, not an architect, therefore I provide rough sketches, not precise CAD drawings. I’ve provided a PDF that you can download that shows how we built the structure along with some supplies you’ll need, but I’ve included a complete list of supplies within this blog post for your reference. I’d like to remind you that 90% of the materials we used were salvaged and therefore no cost. If you do not have that kind of resource, this project will be a lot more expensive than the $300 we spent. If you’d like to see additional photos and gain more information on some interior finish materials we used you can see our previous blog post HERE. 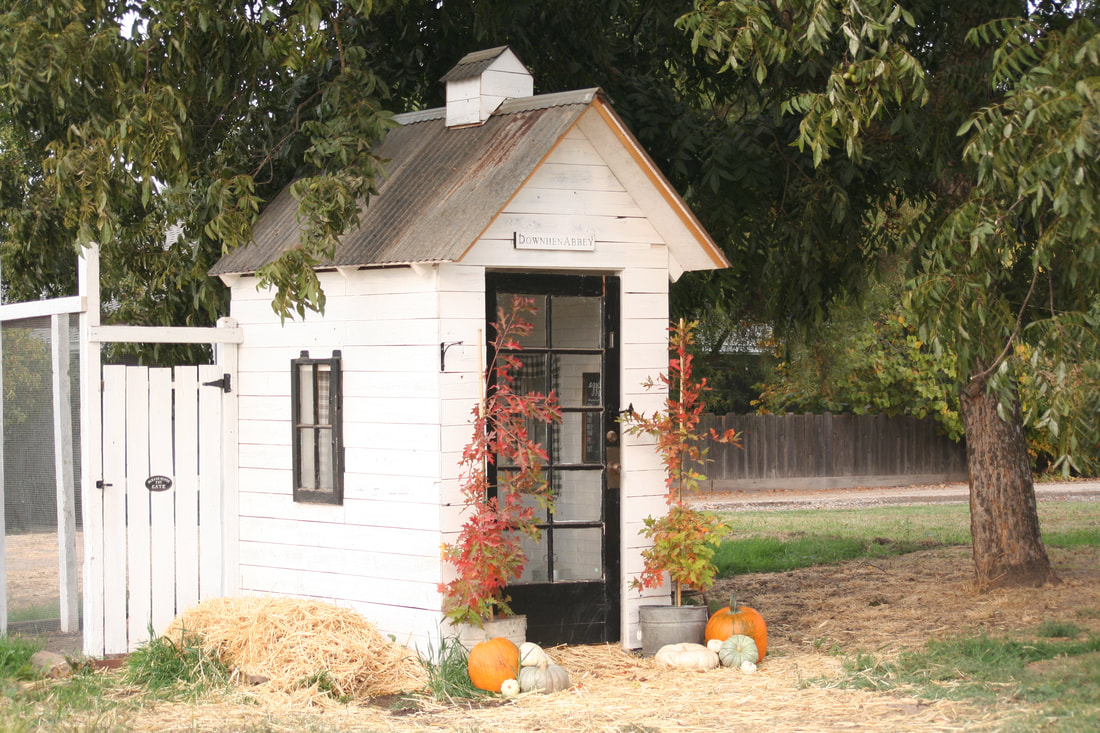
To begin, we built a skid foundation using 2x4’s from a previous fence demolition laid over 4x4 salvaged fence posts. You can see the skid foundation in the image below. 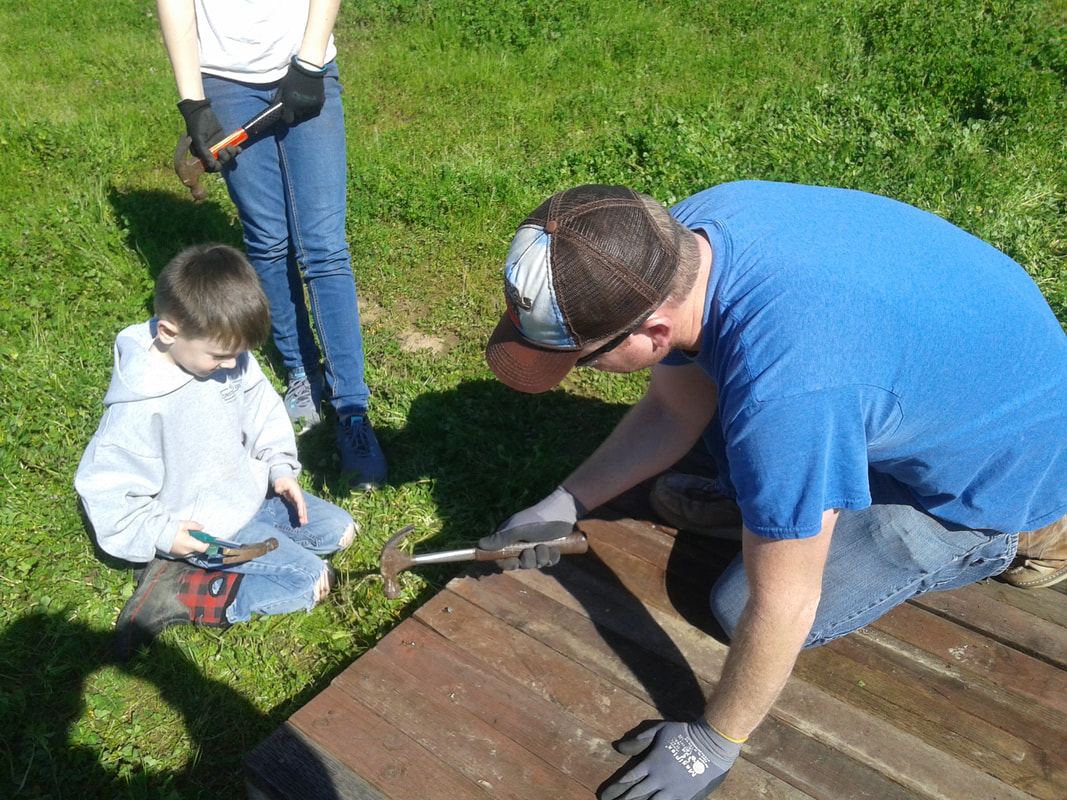 I chose a skid foundation for ease of mobility just in case we needed to move it as our home and land developed under our planned construction. Also, having a skid foundation meant no predators could dig their way in. This 5x7 foundation is what we attached all the framed walls to. The PDF image will show you how we framed the walls with new 2x4’s. We chose to use new wood for the framing to ensure structural integrity. 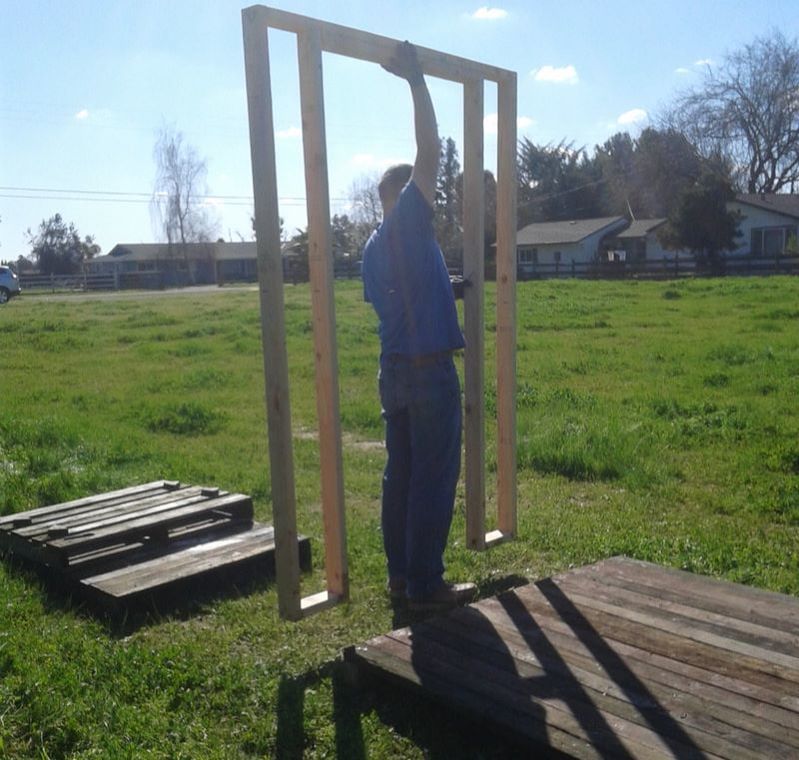 My husband carrying a wall...because who can actually carry an 8' tall wall? After framing the walls and building the trusses on a 45 degree (12/12 pitch), we covered the trusses with new (2) 4x8 plywood sheets. Now that the structure was complete, we covered the exterior of the framing with salvaged fence boards, and the roof with salvaged corrugated metal. Since the corrugated metal was already cut I don’t know its original dimensions, but 4 sheets of 4’x8’ corrugated metal will cover the roof area. We then topped the metal with a cap at Home Depot. 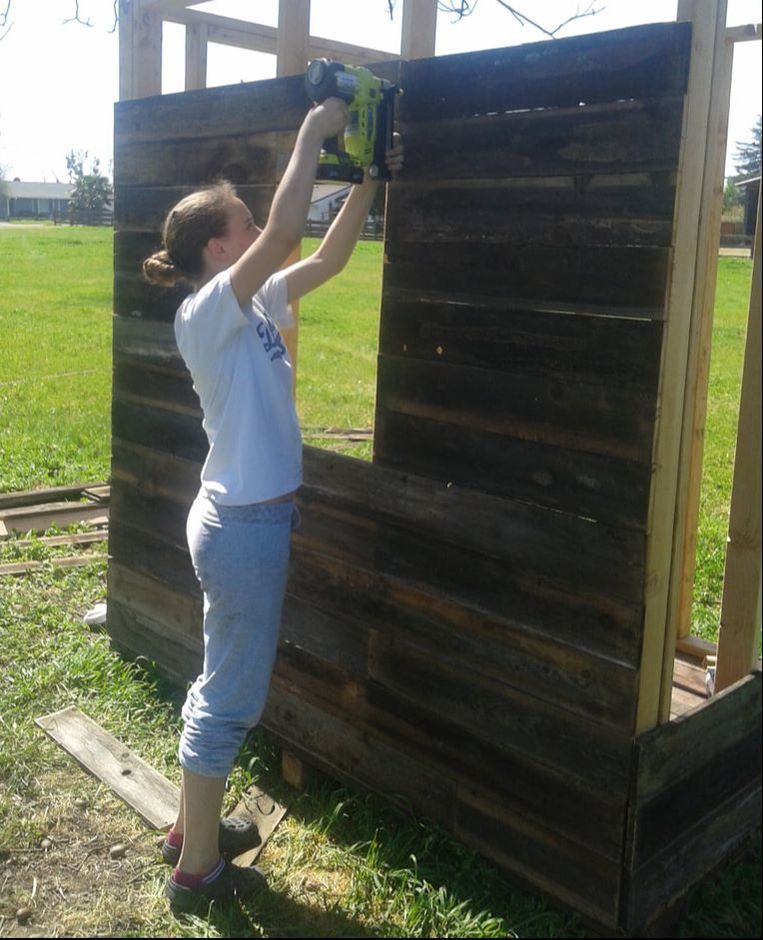 Our oldest duckling installing siding on her wall. 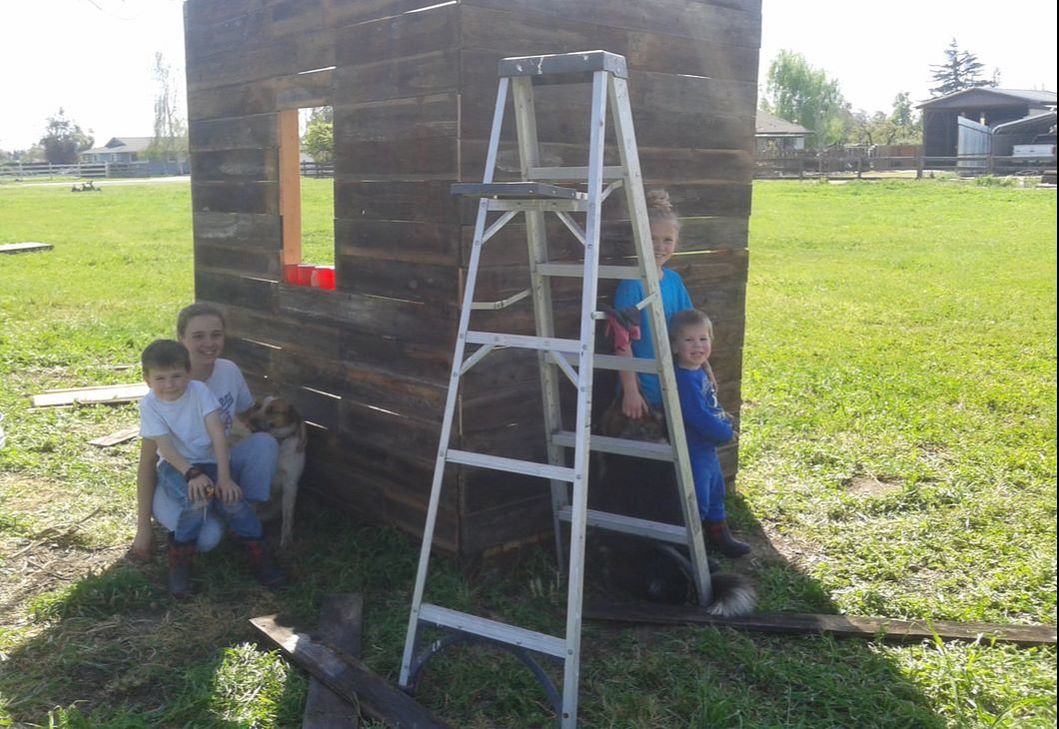 Siding complete, and some very proud ducklings. I didn’t include a drawing of the cupola, but its construction is simple since it is a mini version of the coop out of plywood with the 45 degree angle cut out at the bottom to fit the roof line. You can adjust the coop to any size you want (if you want it wider, taller, etc.), as long as the triangle cut at its base matches the angle of the roof pitch. Ours is plywood at 1’ wide, then covered with the same materials as the coop. We did not “frame in” the windows for two reasons. Since they were salvaged and only half of a full window, they had these cute leg details that I didn’t want to remove, and two it allowed me to attach them with hinges to the exterior so they could be open during hot summer months to allow a cross breeze. 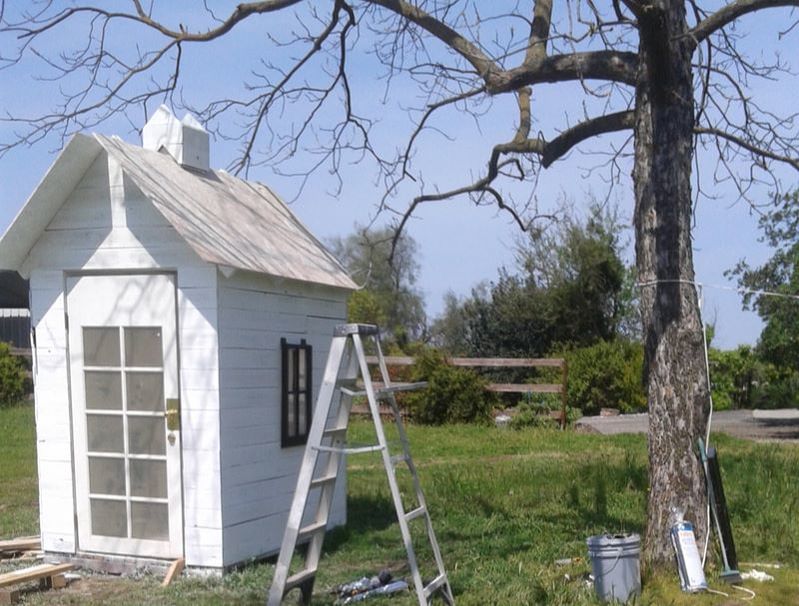 Here you can see the cupola construction and windows attached with hinges directly to exterior. If I have left anything out, or you require more information, please comment here and I'll do my best to provide you with the required information. Thank you again for all your kindness and happy building! Required Supplies:
(6) 4”x4” posts cut 5’ long for skids (16) 4”x2” boards cut 7’ long to cover skids and act as floor (25) 4”x2” boards cut to various sizes for framing of walls and trusses (4) 4’x8’ corrugated metal roofing sheets (2) 4’x8’ plywood sheets for roofing (if you don’t have scraps laying around for cupola, buy another 4x4 sheet) (1) Metal roofing cap (1) Large box of 3 ½” common nails for framing (1) Small box of steel roofing nails (1) Small box of finish nails for siding (we used a nail gun, but if doing it by hand, penny nails will work just as well and create character). 150 sf of siding of your choice…you can use fence planks, (we used 1”x6” salvaged fencing, cut at various lengths), but you can also use decorative plywood sheets to get the same look at a cheaper price if you are buying new.
0 Comments
Leave a Reply. |
Author
Country girl by birth. Archives
May 2022
Categories |
||||
 RSS Feed